ZEISS released new CALYPSO measuring software
To maintain their position as a market leader, many companies are committed to quality control – for example, by using coordinate measuring machines. However, only an ideal software makes a comprehensive and individual evaluation possible. ZEISS CALYPSO is the general measuring software enabling both tactile and optical measurements with ZEISS coordinate measuring machines as well as the verification and analysis of the resulting 3D data. The new software version has been released.
“This year we focus on performance-related functionalities. We have extended the ZEISS CALYPSO scope of functions together with our customers,” Christoph Grieser, Head of Global Software Sales at ZEISS Industrial Quality Solutions, explains. ZEISS CALYPSO 2023 offers, among other benefits, an improved fault analysis, optimized workflows for optical coordinate measuring machines (CMM), better usability and advanced GD&T evaluations according to ISO-GPS and ASME.
Improved mathematics, fault analysis and workflows
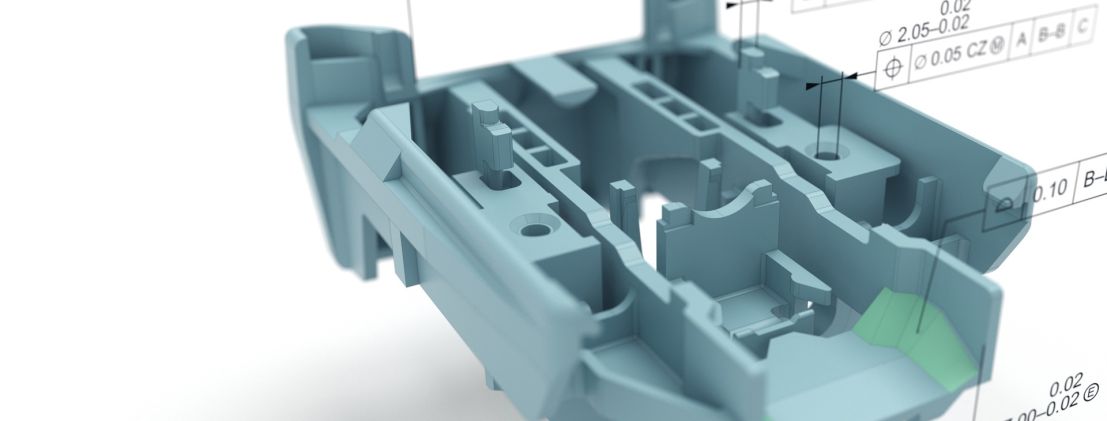
To optimize GD&T evaluations even more for ZEISS CALYPSO users, the software now offers improved algorithms for evaluation according to various standards, such as ISO-GPS and ASME. Thus, users can work with Geometric Dimensioning and Tolerancing even more efficiently and benefit from quality control advantages when using this method.
While optical coordinate measuring machines are getting faster and faster, conventional evaluation of measuring results still is a fairly time-consuming, often manual, process, which requires a certain amount of expertise. The ZEISS CALYPSO concept of an automated fault analysis ensures automation of the entire evaluation process, saving valuable time for the user; the software dynamically recognizes errors in the testing feature and automatically displays all the corresponding information in detail later on. There is no need for the user to spend valuable time by creating reports. This year’s release offers an even further improved automated fault analysis: All faults are automatically displayed in an interactive report. Improved automated plots show every detail; dynamic zooming in an interactive report offers new possibilities for small mechanical parts but also for a variety of electronic devices.
Furthermore, with this year’s release, ZEISS CALYPSO offers new evaluation functionalities for coordinate measuring machines such as ZEISS O-DETECT. The user can, for example, use the overview camera for navigation or automatically search for geometrical elements in the image acquired.
Committed to usability
Also with the newest CALYPSO version, ZEISS wants to set the benchmark. However, the ZEISS experts are even more committed to cooperation with the customers. “Usability is very important to us and to our customers: We focus on the challenges our customers have to face day by day. When developing ZEISS CALYPSO, we wanted to create a software for efficient, secure and fast processing of data volumes in an intelligent way,” Reich confirms. The new toolbox, for example, reduces the number of working steps. Frequently used testing features can be stored as favorites in an individual toolbox.
Individualization also has a high priority: Users can customize ZEISS CALYPSO specifically to their needs by, for example, adding CALYPSO freeform or CALYPSO curve, which offers a great variety of additional options. “We continuously develop and optimize our software. Additionally, new applications permanently generate the need for new functionalities, which we integrate into our software. We have a clear goal: to continue being a reliable partner to our customers,“ Grieser summarizes.

