Innovative Tools Tackle Manufacturing Challenges
New materials, the trend towards miniaturization, competitive pressure, digitalization, and more sustainable business practices are just some of the challenges with which production companies must cope. That also applies to the start of the value-added chain, where one metalworking method is often found. Tool specialists are frequently the first point of call for inquiries on how to optimize complex and problematic metal-cutting processes. How manufacturers of modern tools cope with these diverse challenges is demonstrated by a review of the innovations showcased by AMB exhibitors. These exhibitors will present their new products in the fully occupied halls at Messe Stuttgart from 10 to 14 September 2024. Alongside mechanical engineering companies and users, these manufacturers are developing answers to produce complex shapes, handle challenging materials, and manage large unit numbers more efficiently and precisely.
Cutting materials and coatings
The development of new cutting materials and coatings is a key area in the improvement of precision tools. Carbide, ceramics and diamond coatings reduce wear and extend service lives. Ultimately, it's these materials that often ensure uninterrupted working.
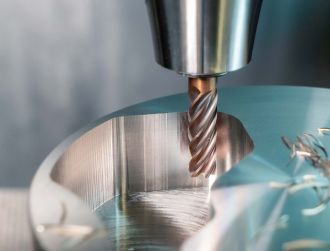
At Iscar another element with positive effects on productivity also comes into play: internal coolant channels were integrated in the 3 flute solid carbide flat-head drills for improved machining performance. The three coolant nozzles extend the service life of the flute and improve chip evacuation. According to the company, the flat drill product line from Iscar is the first on the market to machine flat bottom holes. The three cutting edges of the drill improve the quality of the holes, especially when interrupted cutting conditions occur. These conditions may include, for example, intersecting holes or inclined surfaces.
The geometry of the drills ensures high productivity, especially when machining steel and cast materials. The diameter of this series ranges from 4 to 12 millimetres with 0.1 mm steps and a ratio of length to diameter of 3xD and 5xD. The small tip improves penetration and the accuracy of the machining hole while the corrugated cutting edges and a special shape of the insertion ensure good chip control with the majority of materials. Narrow scrapers reduce friction and ensure perfect surface quality. The highly polished chip flutes also discharge chips cleanly while an optimised core diameter increases tool rigidity.

Composite materials and new materials
Composite materials such as carbon fibres or titanium alloys also require special tools which can withstand extreme loads. As the demand for these lighter yet robust materials rises, so does the demand for tools which can process these materials. The research and development activities of many companies therefore focus on the production of these tools with an emphasis on their coatings.
Mapal, an Aalen-based manufacturer, is also developing its surface technologies still further. Extremely hard and wear-resistant diamond layers cut materials such as carbon fibre materials, ceramics, graphite and aluminium compounds. Especially in the automobile industry, the aerospace engineering industry, the tool construction and mould-making industry, and the medical technology industry, users are demanding long service lives and process reliability.
In the Aalen Competence Centre for Coating Technologies indexable inserts and solid carbide tools are prepared for later use by means of PVD or CVD processes. Experts normally recommend CVD for dry cutting and high cutting speeds. During chemical vapour deposition compounds are deposited up to a temperature of just over 1,000 °C. If rather unstable processing situations or difficult cutting conditions are expected, tougher PVD coats are used. Physical vapour deposition combines metallic hard materials such as titanium nitrate or titanium aluminium nitride with the carbide basic bodies. If adhesive-wearing processes play a role, diamond-like carbon coatings (DCC) are often chosen. They are also separated using PVD or a plasma-based CVD process.
To coat its tools, Mapal is currently restricting itself to the range between 3 and 15 µm depending on the particular application. The optimised HF-CVD process produces coats with almost homogeneous thickness. One objective always remains the same: in a particular cutting application, it should be possible to use the total cutting length with process reliability irrespective of the cutting depth.
One example is the OptiMill-Composite-Speed-Plus, a solid carbide milling cutter for carbon-fibre reinforced (CFR) materials. In this case, the homogeneous CVD diamond coating ensures long service lives and high process reliability: "In the last few years we worked intensively to improve the diamond coating process and have opened up new opportunities in tool manufacturing," said Dr. Martin Kommer, Team Director for R&D Cutting Material / Coating at Mapal. The tool manufacturer is therefore solely responsible for the complete tool design process extending from the right geometry and the selection of a suitable carbide through to coating.
Fibre tears and projections, as well as unsightly burrs, are also a problem for many customers of Emuge Franken. Composite materials are used in many different industries such as aerospace engineering, the automobile industry, the energy sector, sports and medicine. The company developed its fibre-cut milling tools in response to a wide range of processing problems.
These tools machine fibre-reinforced plastics, e.g. carbon-fibre reinforced plastics (CFRP), glass-fibre reinforced plastics (GFRP) and aramid-fibre reinforced plastics (AFRP). ZR-coated end mills with diameters ranging from 4.0 to 20 mm are available for roughing applications in CFRP and GFRP. The end mills with diamond-ZR coating enable roughing and finishing without any tears. Special toothing ensures clean and reliable cutting of the fibres, a high chip volume and optimum chip removal. Micro-end mills in diameters from 1.0 to 3.0 mm with diamond-ZR coating are suitable for micro-machining. End mills with a reverse scissor cut (5.0 to 12 mm) are available for drilling and trim milling in aramid fibre-reinforced plastics.
Nanotechnology and microstructured tools
Another trend relates to the size of the parts to be produced. Parts are becoming ever smaller. The necessary shapes and geometries are therefore also shrinking. The miniaturisation of parts calls for tools with increasingly more accurate and smaller dimensions. The transitions are fluid in microtechnology and nanotechnology. Tools with microscopically small structures are in great demand in electronics and medical technology.
At the company Paul Horn, for example, it is essential to master every process during microcutting. When external diameters of 0.1 mm, 0.5 mm insertions and 5 µm feeds have to be produced, you sense how precise all machining elements have to be coordinated. Very small cutting depths call for very sharp blades to minimise the cutting pressure. However, the abrasive cutting edges increase the danger of micro-cracks. Even a small crack in the range of a few µm on the cutting edge has a negative effect on the machined surface of the workpiece. The finish quality of the cutting surface also plays an important role. To counteract built-up edges, the cutting surface at Paul Horn is very finely sanded or polished before its use.
To enable users to produce screws for hearing aids, balancing weights for watch production or turned micro-parts for medical components, Horn developed the μ-Finish system for micro-cutting. Change accuracies of +/- 0.0025 mm when rotating the indexable insert are therefore possible. For example, the user can turn the cutting plate without having to readjust the tip height.
LMT Tools in Schwarzenbek is another example of the trend towards increasingly smaller parts: during the development of the micro-milling cutters, the focal points were productivity and process reliability in addition to the required component quality. LMT supplies different micro-milling cutters in a tolerance range up to 0.007 mm for highly precise milling processing with small tool diameters. The 3, 4 and 6 mm precision shafts with h5 tolerance and a diameter range from 0.3 to 3.0 mm are available in two geometry variants: a design with a straight face for precise contours and a design with a spherical head. The latter design ensures higher flexibility when machining complex 3D shapes. Thanks to the spherical shape of the milling cutter, curves and irregular surfaces can be processed precisely.
One of the main application areas is hard machining in die and mould making, e.g. complex 3D mould surfaces, deep cavities, drill holes, undercuts or ribbed structures. LMT counteracts high thermomechanical load collectives with the aid of wear-resistant layer substrate systems that can withstand high temperatures. The tools therefore become resistant to oxidation and diffusion and have hot hardness.
"Through the microprogramme, we are supplementing our wide selection of tool solutions in the shaft and indexable insert portfolio relating to die and mould making, especially in the manufacture of injection moulds. We are therefore able to fully cover all areas – from punches, presses, forging dies, plastic moulds and die casting moulds through to free form surfaces, electrode production and mould making," emphasised Dr. Sascha Beblein, Head of R&D Rotating Tools at LMT Tools.
Smallest diameter without piloting
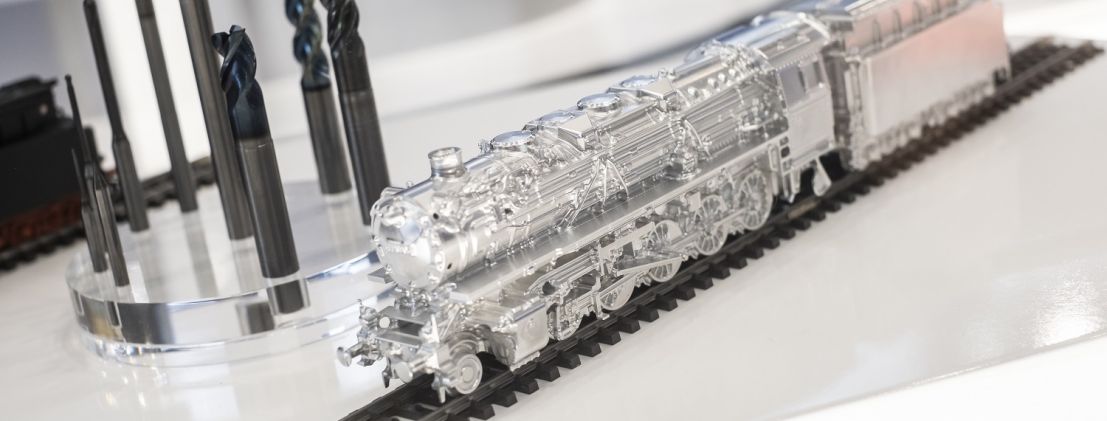
Ceratizit also supplies drills for small and very deep diameters. The WTX drills drill holes up to 30xD while maintaining high positioning accuracy. The 5xD version has been designed as a pilot drill for micro deep hole drills, thus creating the conditions for the micro deep hole drilling process. The self-centring characteristics of the micro drills mean pilot-drilling/centring can be dispensed with up to and including 8xD.
According to the manufacturer, the drills reliably process steels, cast materials or highly heat-resistant materials with repeat accuracy. This is attributable to optimised geometry and the so-called Dragonskin coating. The special geometry of the tip increases positioning accuracy while lapped surfaces and patented chip space openings ensure rapid and reliable chip removal. The tools are cooled with the aid of spiral coolant channels and the coolant chamber in the shaft. With these measures, Ceratizit is aiming to ensure that micro drilling has repeat accuracy and is free from interruptions. "The company can also help to optimise the tools for new challenging applications together with customers," said Felix Meggle, Product Manager for solid carbide drills at Ceratizit.
No precise machining without clamping devices
The closer the tolerances for the workpiece to be machined are at the end, the more it depends on the entire chain of power transmission from the base of the machine tool to the chip. Iscar has now presented an innovation for one of these steps: the BHD MB boring heads are being replaced by a new tool series called BSFD or Boring Super Fine Digital. The measuring instrument has a display for all fine boring head diameters. Digital heads with a diameter from 3 mm to 203.1 mm with an accuracy of +/- 0.001. The display unit is docked to the tool-holding fixture with magnetic forces so that the diameter can be adjusted with the aid of the digital screen.
According to the manufacturer Iscar, the tools are best suited for highly precise drilling operations with high accuracy. The tools are suitable for applications in the automobile industry, the off-road sector, the aerospace engineering industry and the general mechanical engineering industry. They can also be used as an alternative for reaming operations with high tolerances during interrupted cutting conditions.
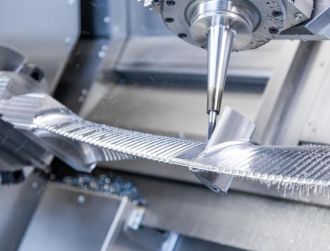
New standard clamping devices also ensure precise and interruption-free cutting during 5-axis machining of blanks. One example is the EvoGrip centring vice from Emuge, a manually operated direct clamping device which clamps the workpiece centrically. The compact design enables multi-sided machining with five axes and makes clamping devices of this type universally applicable. With its modular and very slim system design, the EvoGrip attains a maximum clamping force of up to 75 kN.
The perfect addition to the EvoGrip is the EvoPoint zero-point clamping system. The EvoPoint features high accuracy and can be combined with the centring vice system thanks to its modular design. According to the manufacturer, set-up times can be reduced by up to 80% in conjunction with EvoPoint. Different versions of these clamping jaws are available, for example, one-piece clamping jaws with different contours, multi-piece clamping jaws comprising basic and reversible jaws, and reversible jaws with different contours, top jaws and centre jaws.

Measuring and testing
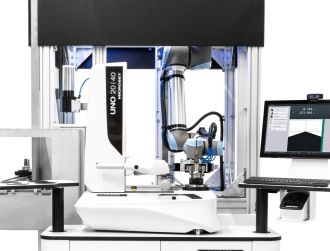
When it's a question of accuracy, corresponding control is also essential. The AMB exhibitor Hahn+Kolb provides an example of how innovations can also always be found here. The tool service provider offers the Micro, DH-9 and Easyroughness roughness measuring devices from the Diavite and Atorn brands as three solutions for measuring surfaces according to ISO 21920. At the end of 2021, the new international standard with its three parts on profile-related measurement, characterisation and indication of the surface texture (roughness, waviness) of parts replaced the withdrawn standards ISO 4287, ISO 4288, ISO 13565-2 and ISO 1302. These standards were no longer able to cover all the possibilities of modern measuring devices.
The devices for determining roughness are produced with an aluminium housing and a touchscreen display. They have feed units for skid-type probes and reference surface probes (free tracers), as well as special individual solutions. Users can therefore perform more measuring tasks than with pure skid pick-up systems. Corresponding ball probes, deep probes, drilling probes, tooth flank probes, axis probes and cut free probes also record values on deep lying surfaces, gear wheels, grooves and drill holes or small recesses.
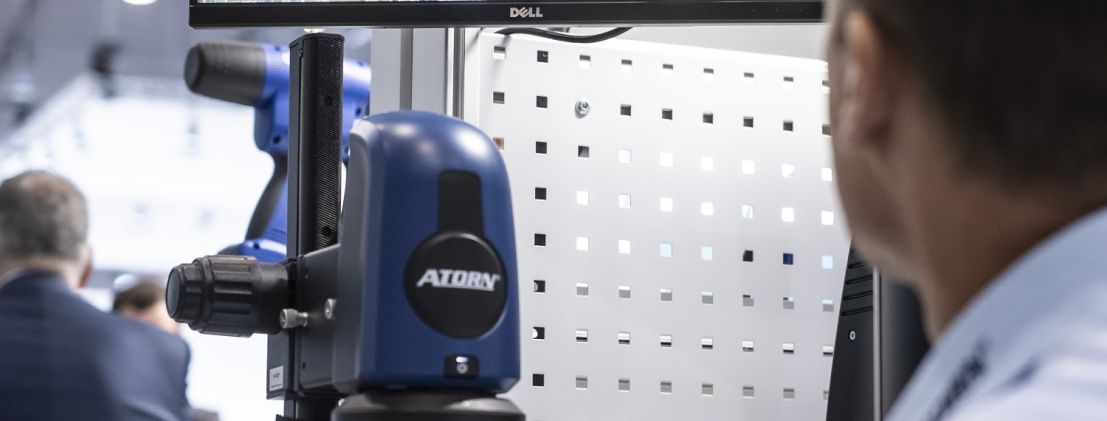
Easyroughness from Atorn even records the roughness of filigree drill holes, shaft diameters, internal recesses and tooth flanks. In addition to visualisation of the surface roughness via a large 10.1" full HD industry touchscreen PC, the measurement results are stored by the integrated Windows IoT operating system, with the inclusion of the option for video/photo documentation. The user can therefore be certain that the target values also correspond to the current status and document this to his customer.
Discover at AMB
This small excerpt of innovations in metalworking also shows the wide range of topics at this year's AMB in Stuttgart. From 10 to 14 September 2024, the exhibitors will present their solutions relating to cutting tools, clamping tools, measuring and test systems, operating equipment, handling systems, occupational safety, machines and much more. A wide range of solutions for many industries in which miniaturisation, growing competitive pressure and challenging materials are important issues.

